
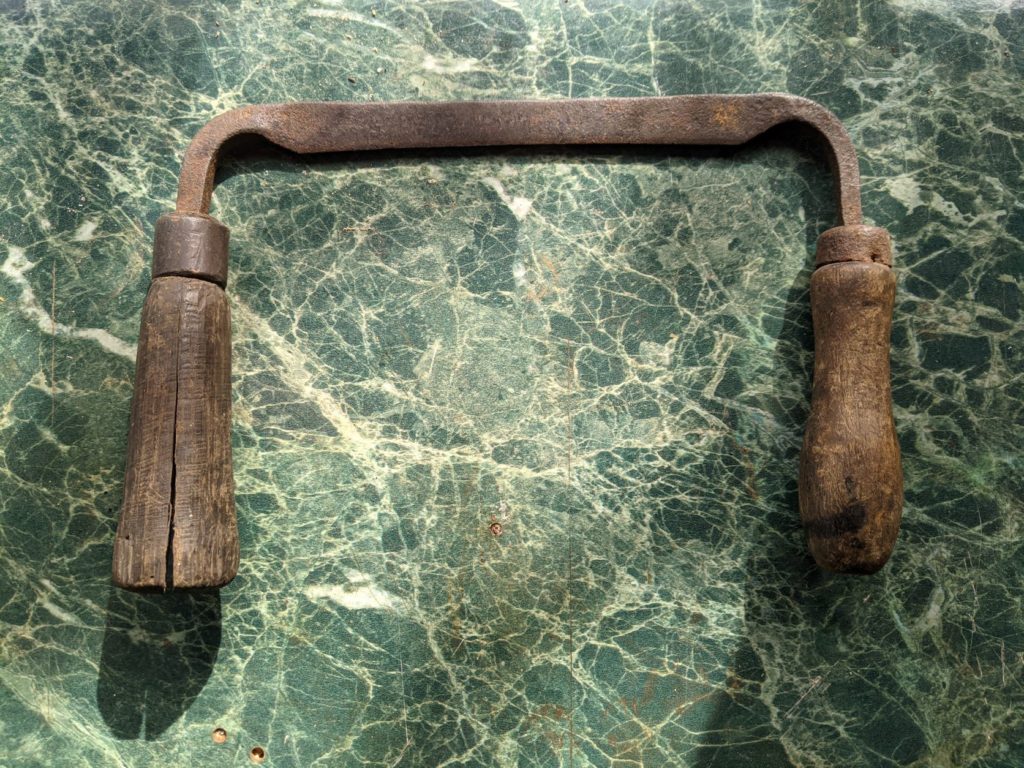
Drawknife needing some love
I picked up this old drawknife online for a few pounds. It was a little tatty and dull but the main issue was the handles and I thought I’d take the opportunity for a bit of practice on my new (old) lathe. With a bit of tugging the old handles came off – the better of the two I would use as a rough guide for my own design. It measured about 100mm long, plus a short 15mm projection for a ferrule. The blade went into a tub of environmentally friendly Evaporust rust-remover. This is an expensive but excellent product that removes rust easily and is safe to have on your skin or dispose of when you are finished. It is reusable, so it can last a long time. After the iron or steel comes out it just needs drying off and buffing with a wire brush.
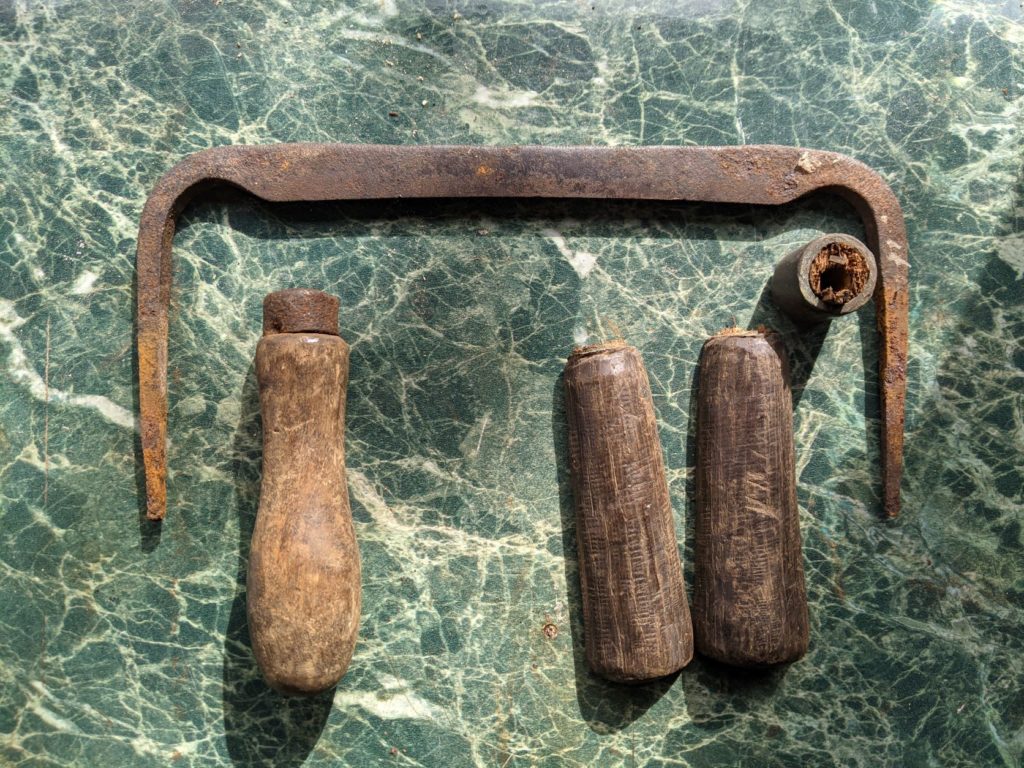
Dismantled drawknife
The cherry board I have has been slowly and expertly dried over a year or more so is nice and dry, flat and stable. I was able to carefully select a board which suited my needs, regarding straightness and direction of grain. I really like it for turning because a little bit of care with the chisel is rewarded by a beautiful grain pattern and colourful finish. For this project I measured out a section a little wider than the board is thick (as I know my inexperienced saw cut will likely drift…), marked it and got my rip saw out.
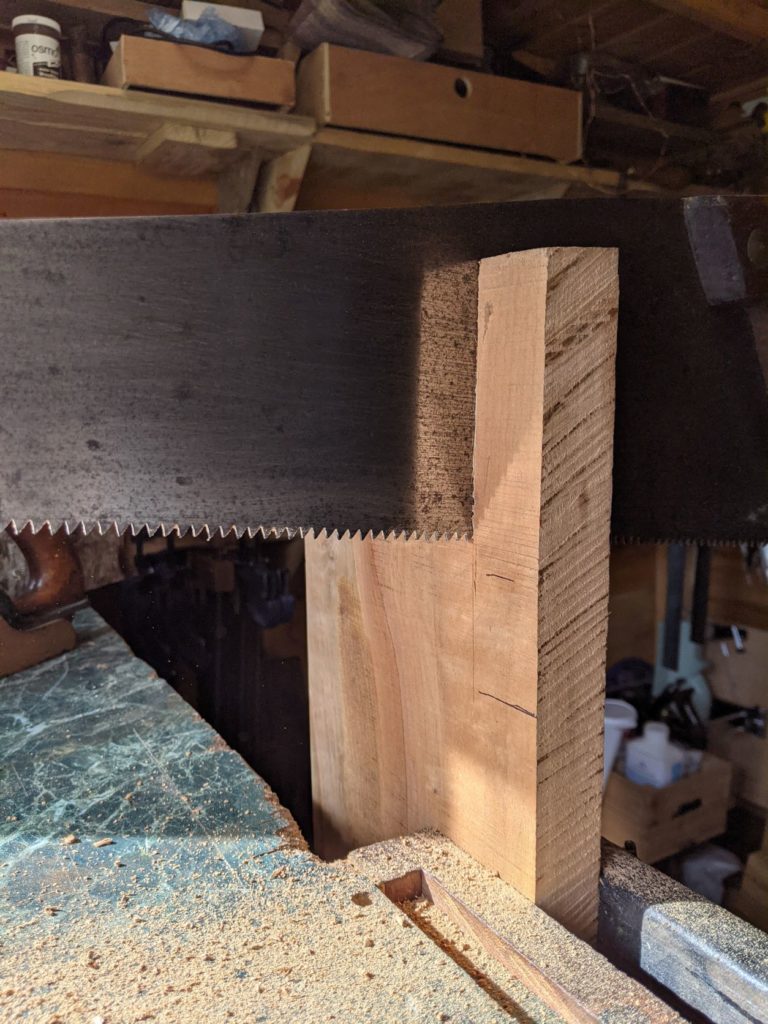
Cross cutting cherry
I spent a lot of time wondering about the need for a big and expensive table saw but having spent some time speaking to Dave and also watching Paul Sellers videos on YouTube, I’ve discovered that a few good saws are more than capable of fulfilling my needs with ease. And I mean ease. This rip saw goes through that cherry beautifully.

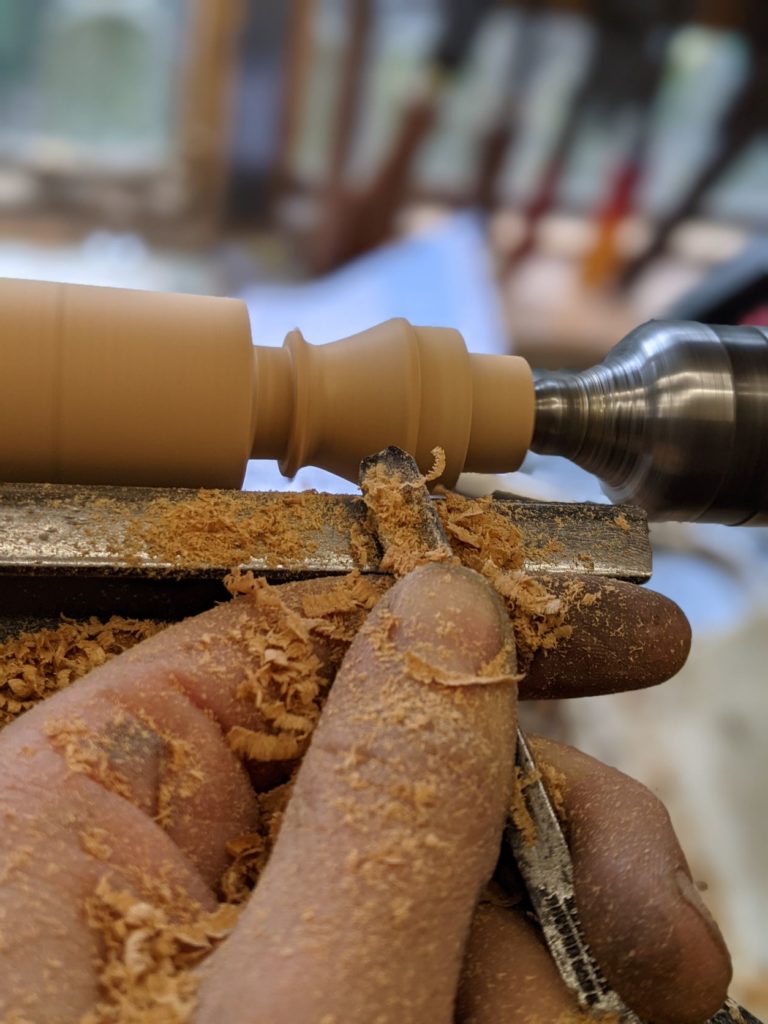
Turning beautifully!
Once the piece was cut, I smoothed off the corners with my little Stanley 36, divided it into two halves and marked the centres for the lathe. Firstly I mounted the rough-cut bit of stock into the chuck and lined up the tail end with a live centre, then I used a roughing gouge to knock off the corners and turn it evenly cylindrical. I then used my home-made lathe steady jig to hold the piece whilst I swapped the tail bit over for a chuck and drilled the 6mm hole which will be where the tool will push into. I was then able to remount the piece between two centres for spindle turning. I am sure there are multiple ways to complete these tasks but this is just what I have found works for me with what I have and my current level of ability and understanding. I turned the two handles between two centres, one at a time and trying to make them match. I measured the piece, used a paper diagram to remind me of the thicknesses and distances, and marked with a pencil the lines for the end of the ferrule, the narrow part, the high part and the end of the handle. I used callipers to measure the diameter of these sections and a parting tool to cut down to them. Then it was a question of cutting out the waste between these areas. For the shaping, I mainly used a small spindle gouge but I find a skew chisel gives a wonderful finish.
Shaping the handle
The last part of shaping was adding the ferrule and parting off the piece. I chose to use some 15mm copper tube which was salvaged from a neighbours skip. Cutting and deburring such a small item was a challenge… I’m sure there are easier ways. A sharp pipe cutting tool seems essential. When the copper was able to be slid into place I carved the handle to meet it, then glued the ferrule and drove it into place in the vice.
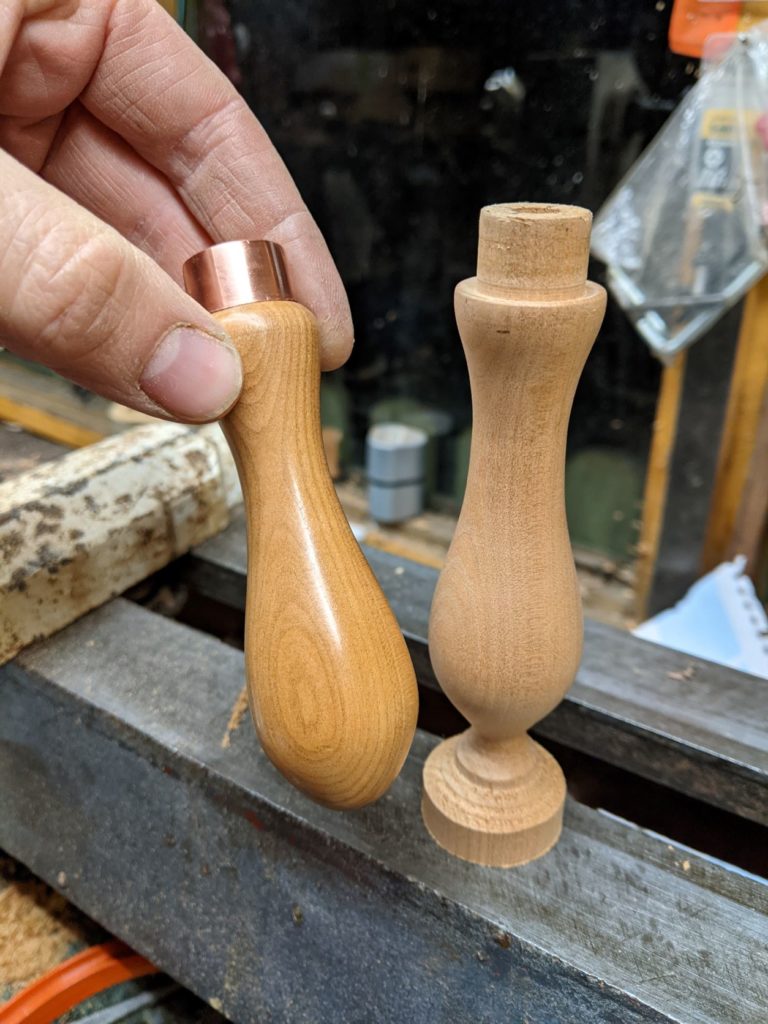
Wax coating and copper ferrule for a professional finish
For finishing the piece I used a bit of dowel to mount the handle in the lathe and then turned it on a slow speed. I use 120, 180, 240 and 320 grits of sandpaper, followed by 600 and 1000 for the copper. The finish is applied in several stages. Firstly I use shellac, applied with a cloth and allowed to dry before a second coat is added. Then I spread on a wax (chestnut cut and dry) which is slightly abrasive and turn that on the lathe also, rubbing it off with a clean bit of cloth. When that appears to be dry and no longer coming off I add a microcrystalline wax in the same way. This final step is what really seems to make it shine and feel so lovely to touch.
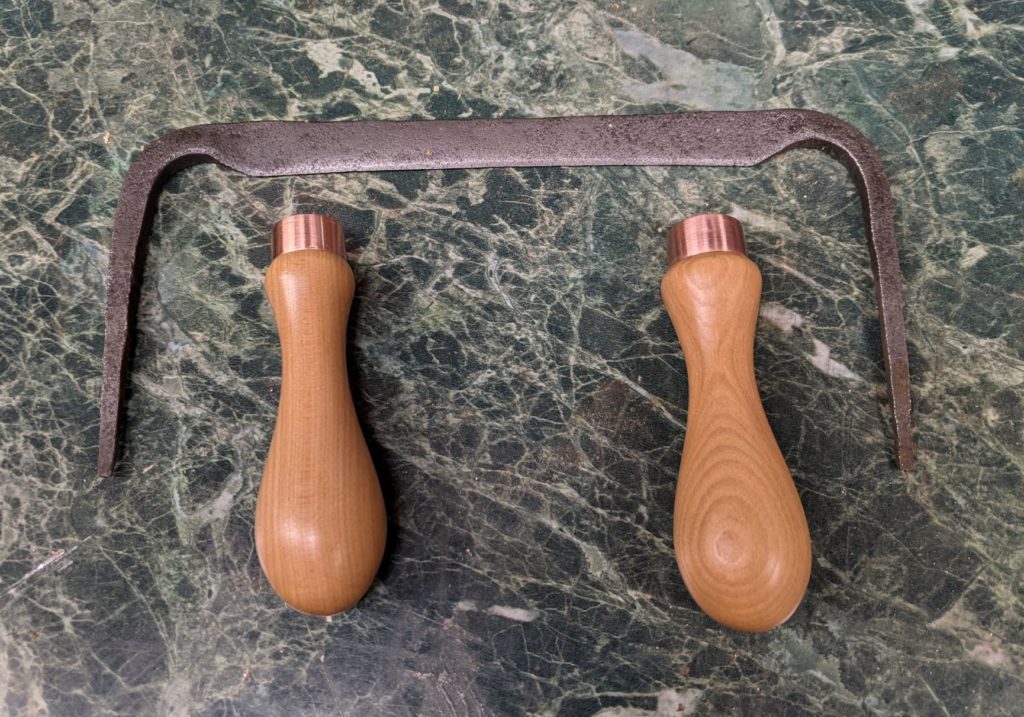
A matching pair ready for assembly
There seem to be a myriad of ways to finish wood, all with pros and cons and lots of people claiming one to be superior to another. I use this method simply because it was what I was shown and also because it allows the wood to look natural when it is finished, rather than encased in plastic. It is extremely tactile too. You really can’t help but pick up one of these handles when you pass it! To fit the handles I opened out the mouth of the hole a little with a larger drill, added some epoxy and pressed it home in the vice, being careful to leave each handle the same distance from the back of the blade.
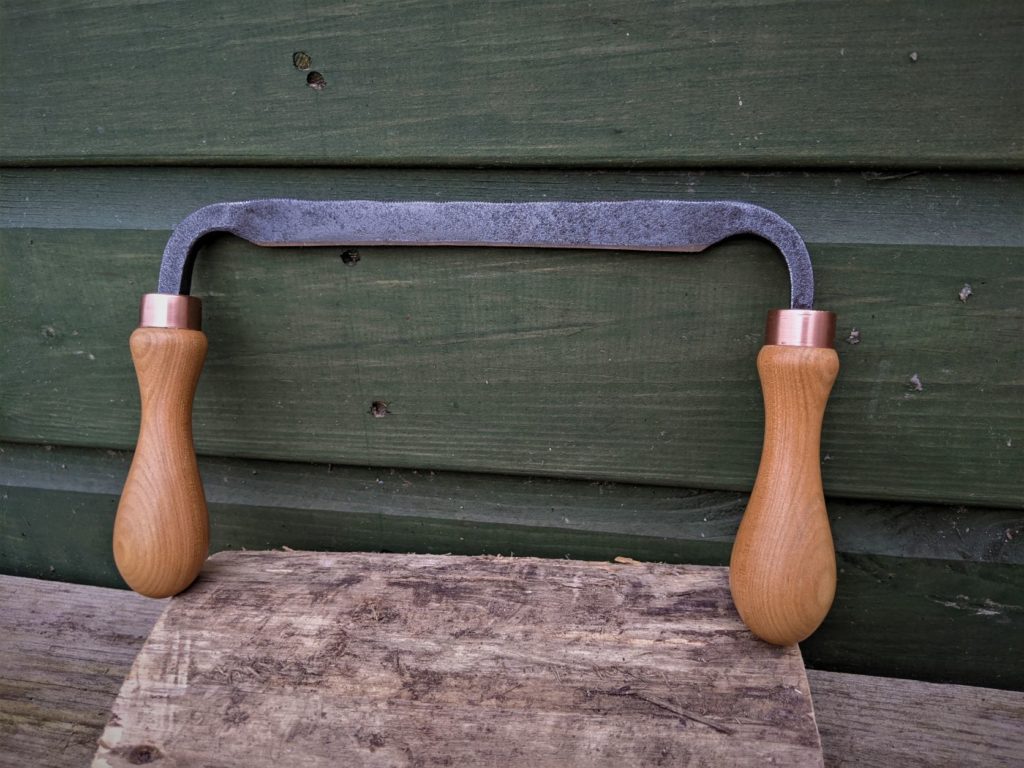
Drawknife with refurbished cherry handles. Beautiful!
There’s not a huge amount of life left in the blade, but it should serve me a few years yet.